

Your deck still looks like the default template. Open the file, edit the master slides, and swap colors, fonts, and backgrounds until it matches your brand.
How to Edit PowerPoint Templates Like a Pro
A few edits to the master slides change every slide in the deck. Adjust the theme, fonts, and backgrounds, and the template stops looking generic.
Step 1: Open the PowerPoint Template
Open the PowerPoint template you want to edit. Use a built-in template or download one from the web.
Step 2: Understand the Master Slides
PowerPoint templates run on master slides. Each master slide sets layout, design, and formatting for the slides below it. Edit a master once and every slide in the deck picks up the change.
To access the master slides:
1. go to the "View" tab
_(1).png)
Opening Slide Master to Edit PowerPoint template
2. click on "Master Views" or "Master Slides."
_(1).png)
Slide Master in PowerPoint
The master slide pane opens. You can see and edit each layout from there.
3. Customize the Master Slide Layout
In master slide view, resize, move, or delete placeholders for text, images, and charts. Add new placeholders where you need them.
Click a placeholder to edit it. Right-click and choose "Edit Master" for more options.
Step 4: Change the Theme and Color Scheme
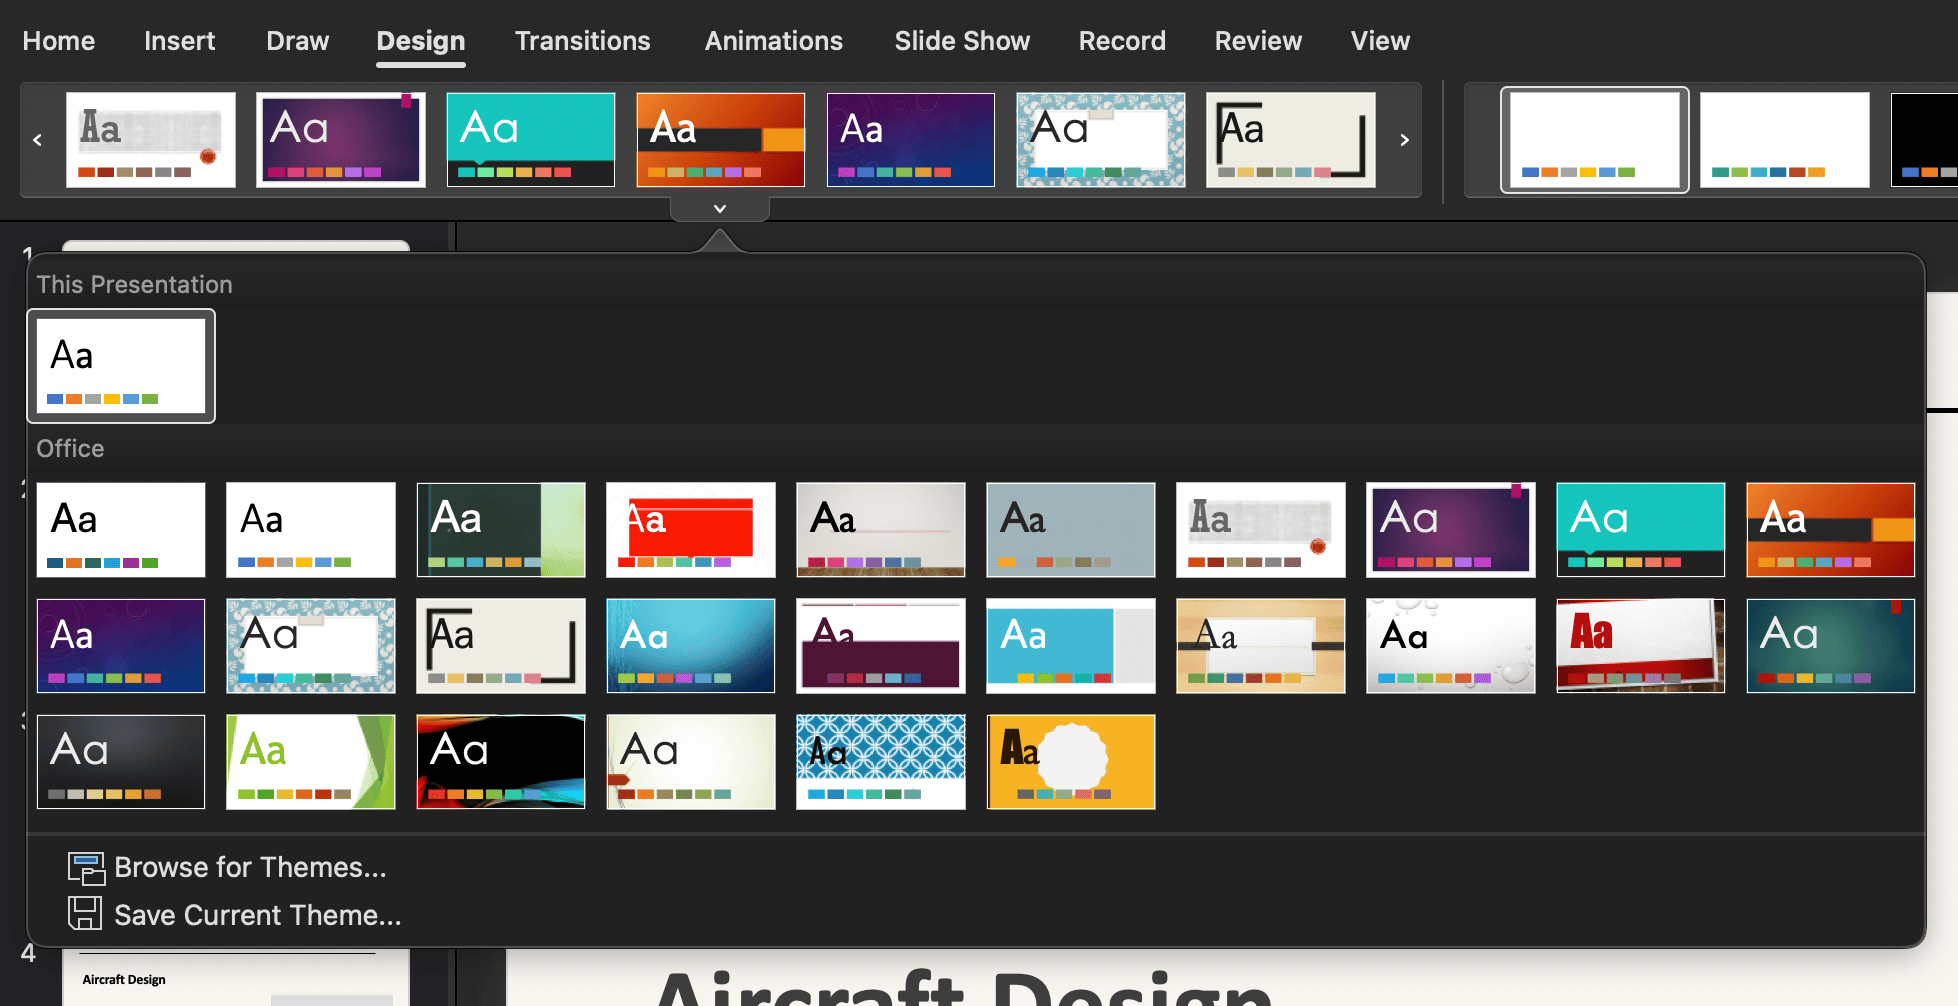
Change the theme and color scheme to refresh the look. PowerPoint ships with built-in themes and color palettes. You can also build your own.
Go to the Design tab and click Themes. Pick one from the gallery.
Click Colors on the Design tab. Pick a preset or choose Customize Colors to build your own.
Step 5: Modify the Font Styles
Set the font type, size, color, and formatting (bold, italic, underline) on the master slides.
Open the Home tab and use the font controls. Click the Font dialog launcher in the bottom-right corner of the Font group for more settings.
Save time with AI. GenPPT's AI Presentation Generator builds a full PowerPoint in minutes.
Step 6: Add or Edit Background Styles
Backgrounds reinforce your brand. PowerPoint supports solid colors, gradients, patterns, and images.
On the Design tab, click Background Styles. Pick a preset or open Format Background for finer control.
Step 7: Insert Custom Graphics and Images
Add your logo, icons, illustrations, or other visuals that support the content.
On the Insert tab, click Pictures, Icons, or SmartArt. Select a file from your computer or an online source.
Step 8: Adjust Slide Transitions and Animations
Transitions and animations add motion between slides and elements. PowerPoint includes dozens of effects.
Open the Transitions tab and pick an effect. Set the timing and apply it to one slide or the whole deck.
On the Animations tab, assign an effect to each element. Set the order and timing so the sequence reads cleanly.
Step 9: Review and Finalize Your Changes
Review each slide before you present. Check that formatting, layout, and design stay consistent.
Return to Slide Master view for any last edits. Every slide in the deck updates with the change.
Step 10: Save Your Customized Template
Save the template as a separate file or as a new theme inside PowerPoint.
Go to File > Save As. Pick a location and name, then set the file type to PowerPoint Template.
On the Design tab, open Themes, choose Save Current Theme, and name it.
You edited the template and saved it. Reuse the file the next time you build a deck.
Try GenPPT, the best AI presentation maker, for your next deck.